
Autoscopy


     I created this image mainly using masking and adjustment layers on Photoshop. The main idea of the project was to take a photo of yourself and transform it into something you never knew of yourselves. The waterfall, sunflowers, brick wall, and water jug images came from unsplash.com. The two space images came from the NASA website. My composition communicates growth despite a bad environment, which is something I learned about myself this year. 

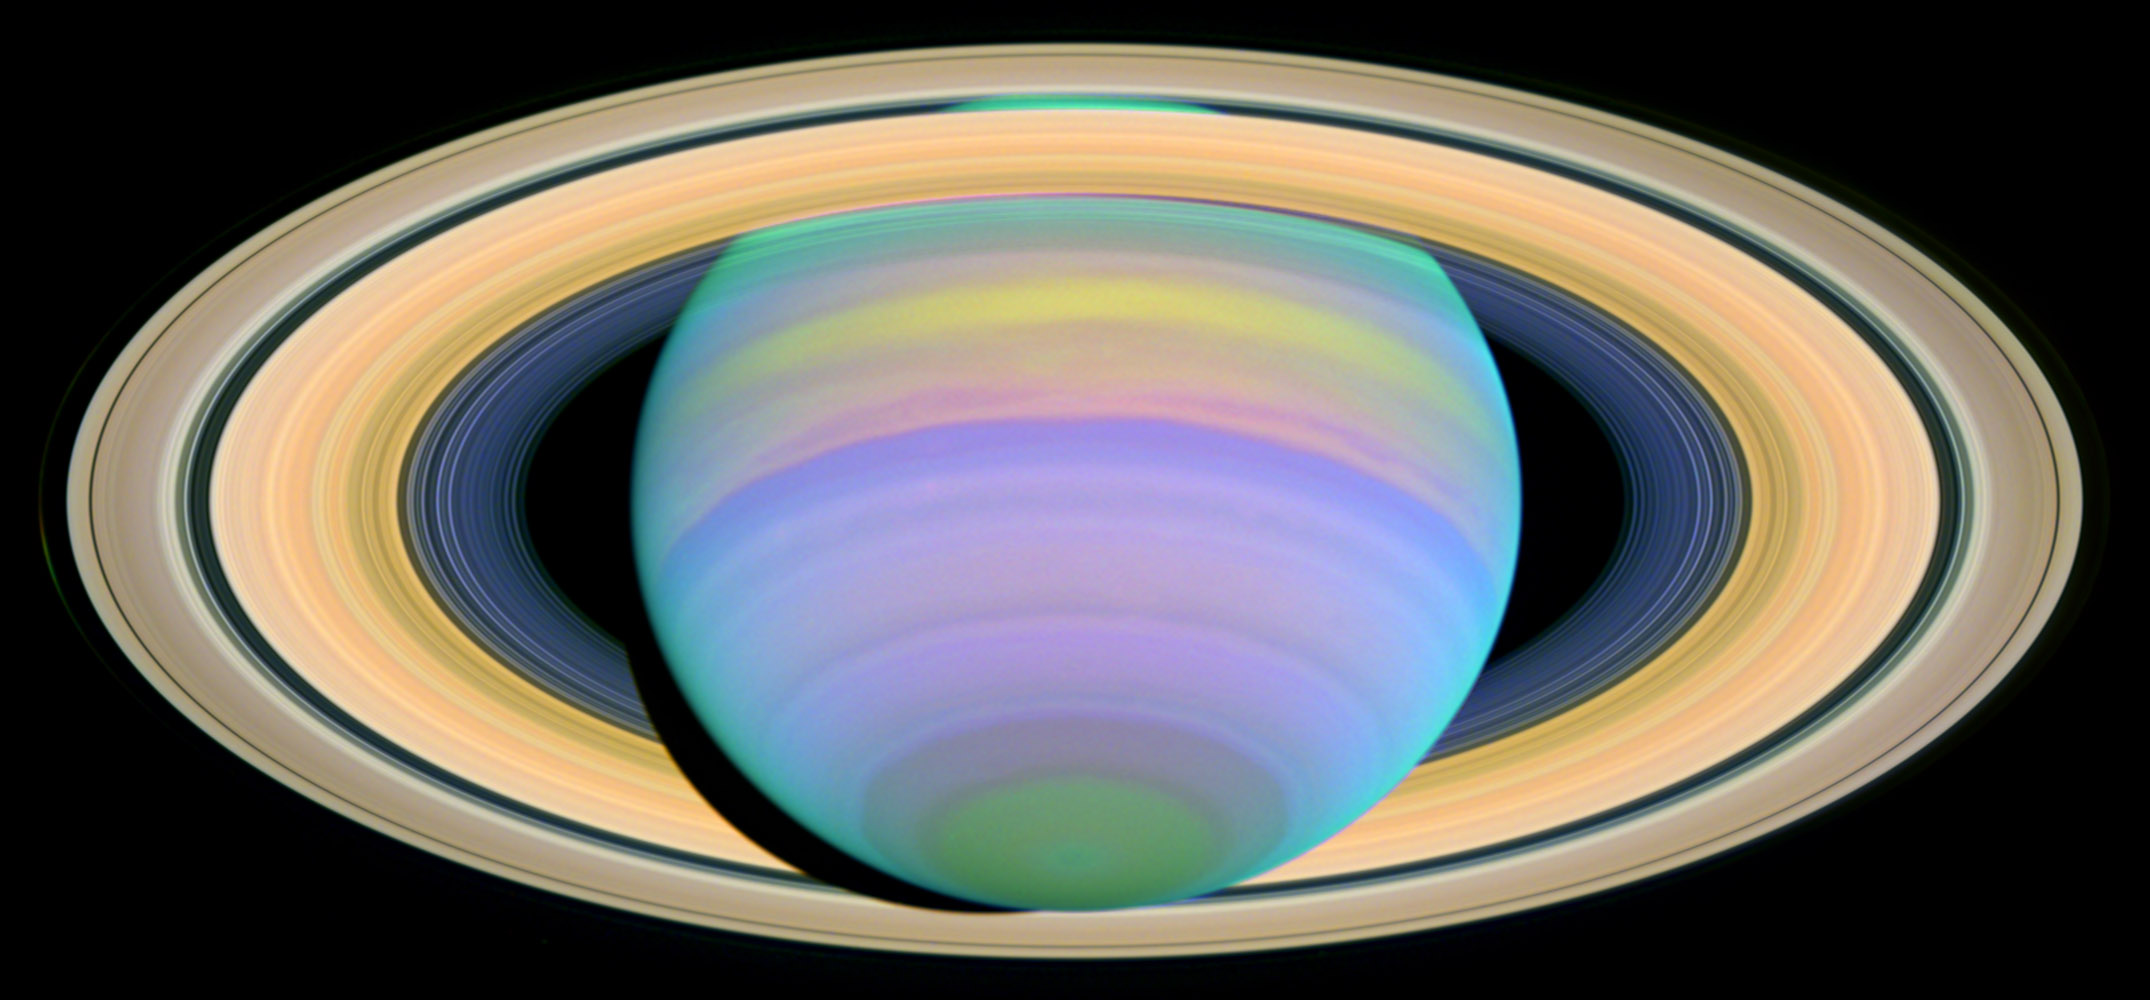
    I first started by creating a mask of sunflowers and putting them on my head as if they were growing out of it. I then used the displace filter and "multiply" blending style to mask the brick texture onto my face. Most of the images have an adjustment layer on them so that the colors are more vibrant and brighter. The two space images were taken near my birth date from the Hubble Telescope. I added them to my composition as symbols of myself and to give a fantasy feel to the image. 

    I added a water jug in the left corner of the page and gave it an adjustment layer to change it from yellow to purple. I did this so the water jug could complement the yellow of the sunflowers. Lastly, I masked a waterfall and placed it coming out of the jug. I then changed the blending style of the image to the "lighter color" option. I did this so the sunflowers could peek out from the water, making the flow of water more realistic. Lastly, I added my tag in white on the brick texture of my face. 

    The sunflowers coming out of the brick wall (me) is inspired by the concept of a rose growing out of concrete. This year has not been the best environment for growth, however, I have still worked to make personal improvements (symbolized through the water jug watering the sunflowers). 

Original pictures:


Comments

  1. This is amazing. I wish I had your level of talent. I really liked how the masked waterfall turned out. I like how everything coexists in the final product. I wouldn't change a thing on this project.

    ReplyDelete

Post a Comment

Popular posts from this blog

Portfolio

      The final project was to make a portfolio showcasing all the projects I made during the semester. I made this portfolio using InDesign. I had initially sketched a completely different cover, but as I began working I came up with a new cover idea. The idea for the cover was inspired by the Creation of Adam by Michelangelo.  The painting of the Creation of Adam depicts an image of God stretching out his finger to give Adam a spark of life. However, in my version, I am reaching out to touch the mouse I used to make the projects this semester. I made the image using Illustrator. I then added a cloudy background to match the heavenly scene within the original artwork.      The next two pages welcome and introduce me to the reader. I used the colors within the portrait of myself to color the font on the welcome page and the two squares on the corners of my portrait. The index pages utilize the cloudy sky background and layout the sections according to the Adobe software I used.  The co

Somewhere

     The basic idea of this project was to photoshop yourself into a tv or movie scene. I decided to insert myself with the female cast of the tv show Euphoria. This is one of my favorite shows from last year because the characters are so complex and realistic. I think it's quite hard to capture teenage characters, but this show does a good job of accomplishing that. Therefore, I took a picture of myself in a red dress and added myself to the bottom right corner.      The first thing I did was mask myself out and position myself so that my elbow was leaning on the table. I then added a few adjustment layers so that I blended better into the picture. I also put a glow filter on myself to match the bright highlights found on the other people. I then added horns so that I could look like I was wearing a devil costume. I tried to blend the horns by stamping my skin around the edge of where the horn meets my skin. I then added my reflection on the table by creating a duplicate of my mas

BW to Color

Square Analogous Complementary                      I created these images using the polygonal lasso tool and masking on Photoshop. The basic idea of the project was to turn a black and white image of yourself into a colorized version. The three color themes I chose are Analogous, Complementary, and Square. The technique that made these images possible was selecting different parts of the b&w image using the lasso tool and creating a new layer with a layer mask. After creating the layer mask you can create a new layer and color the area using the colors from your color palette.      I chose the warm-toned analogous color palette because my original photo was mostly warm-toned. Therefore, I wanted to see if I could incorporate that into the image but make it more stylistic. I then decided I wanted more contrast for my next one so I chose a complementary color palette. The pink and green really stood out from each other and made my image pop. The last palette was made using square co